Pages

Showing posts with label DIY Easy. Show all posts

Wednesday, September 8, 2010

i collect vol. 3: Colorful | Shapely Glass

***
 This is a stale post.  Don't you smell the stank?
For fresh ideas and the newest new new stuff 
why don't you head on over to the blog we actually update.

Love to see you there.
Carry on as you were.

***  

I love collecting things.
Primarily because it means spending money.
And preferably, the least of it as possible for most collections.
One of my fave collections lately, is of some shapely and/or colorfull glass.

And it all has to come thrifted.
So even when I see these awesome shapely hourglass hurricanes from West Elm:


I have to practice some serious self restraint.Oy
So here is some of my shapely | colorful glass collection:

6 inch aqua mason jars
Photo (c) b3 home designs

Cloche
Photo (c) b3 home designs

3 inch apple measuring | serving dishes
Photo (c) b3 home designs

Full sized Atlas Mason jars
Photo (c) b3 home designs

Fishing Float glass jar
Photo (c) b3 home designs

Cobalt blue bottle | cobalt blue bubble glass pedestal dish
Photo (c) b3 home designs

flower vases
Photo (c) b3 home designs

quilted glass vases
Photo (c) b3 home designs

italian wine bottles
Photo (c) b3 home designs

vintage spray mister
tall skinny, short and medium squat lipped jars
Photo (c) b3 home designs

Everytime I stop into a thrift store, the first area I hit is the glass wall.
Sometimes I find great stuff among the dishes
Sometimes it is with the vases
But sometimes, you just need to dig for it.

Happy collecting.

This is a pretty easy collection to start and doesn't really require a ton of creativity or patience.
If you have several thrift stores to choose from.
I've only been collecting earnestly for a few weeks.
Just keep your eyes peeled and a bit of cash on hand
My whole collection (including tons of pieces NOT shown)
Has cost about $40 so far. 
All collected a piece (or three) at a time.

Saturday, September 4, 2010

Every Nook and Cranny | A Temporary Reader


***
 This is a stale post.  Don't you smell the stank?
For fresh ideas and the newest new new stuff 
why don't you head on over to the blog we actually update.

Love to see you there.
Carry on as you were.

***  

One of the things I love about our place
is that there is so much space
that can be used in so many different ways
because walls don’t define what has to be
                                                                     
take for instance the landing at the top of our stairs

 Upper Landing Blank Slate
Photo (c) b3 home designs

 that I turned into this pretty space

 Upstairs Landing Complete
Photo (c) b3 home designs

In this little nook,
I brought in just about all of my favorite things

After we got puppy dog,
the Paupasan chair got moved to the nook.
out of our bedroom

I love it here because
it is far more comfortable to hang out
in this chair and read
than to sit in a parson’s char.
Just saying

Another fave piece in this space is the pillow on the chair.
I actually bought that pillow cover years ago
When I lived in New Mexico
I bought it at a Pow Wow.
The same Pow Wow that I bought my postcard prints at
But not the same place I bought these calendar prints at

Close up, Calendar Prints
Photo (c) b3 home designs
I LOVE Native Americana.
Reminds me of my grandmother
and all the questions I really wish I would have asked her
Other pieces of love in this area include
Parts of my mini | small clock collection
My favorite wedding headshot photo
My vintage camera collection
Lots of my fave coffee table books
Journals
Small chest
And those awesome Crate & Barrel Leaning shelves

 Photo (c) b3 home designs

Other pieces of me that really make this home:

Those billowy, worn, old, green curtains
“&;” (because there is always an “and did you think about…”)
Wood cubby box
Part of my shapely glass collection
My three favorite ceramic vases


Photo (c) b3 home designs

And if you stepped back a littl
you would see the $16 Art Binge

I “finished” the space at this

 Photo (c) b3 home designs

Some closer looks
at what I love here
include this tray of awesome

The heart rock was from
one of the most awesome
beach trips
with him
ever

The shell was collected YEARS ago
the awesome bell | chime
was given to me by my mom
back when I was in high school
after one of her yard sale stops

Photo (c) b3 home designs

The piece of ocean rock on this shelf
was from the first trip I took to California
with that guy

The clock is the first small clock I ever bought.
It touched off an awesome collection.

 Photo (c) b3 home designs

This is a closeup of part of my most favorite
part of my shapely glass collection

There’s a mister
There is a tall skinny
There is a squat, fat shorty
And there is a little shorty
Those bottles rock my world.

 Photo (c) b3 home designs

This whole space rocks my world.
Now if I could only get more time
to plug in and blog
or unplug and read a book
                    
Can’t wait to be home
for more than a few hours
at a time.

 Upstairs Landing Final(ish)
Photo (c) b3 home designs

Friday, September 3, 2010

Newbie DIYer = White Sofa Table

***
 This is a stale post.  Don't you smell the stank?
For fresh ideas and the newest new new stuff 
why don't you head on over to the blog we actually update.

Love to see you there.
Carry on as you were.

***  

We love Craigslist around here

I think The Handy One
might actually have an addiction to it

I mean who doesn’t love free or really cheap right?

Back at our old place,
we needed some surface area
to set a beverage or two upon
so we got not one
but two of those tables that no one bought after the 60's

I believe that one of them was even free
For the longest time
in current living room
we placed them next to each other
right behind our sofa
on the way into the kitchen
kind of a divider
but not

I knew I wanted to paint them both
to unify their look
but then, I thought simpler would be better
and I decided to keep only one of the tables
behind my sofa like this

Kitchen to dining room
Photo (c) b3 home designs

perfectly aligned with the
entertainment wall of awesome built in speakers
that The Handy One created

 Wall of speakers
Photo (c) b3 home designs
 
So I painted that table
to match the wall of speakers
Not that black and white and gray
are all that grace my world
But I do have to say that my new white table
looks absolutely awesome looking out
across to my great wall of speakers.

 Finished sofa table and speakers
Photo (c) b3 home designs

Yes.
That is a political ad.
It must be election season.

Monday, August 30, 2010

Eyeball Wall Hanging

***
 This is a stale post.  Don't you smell the stank?
For fresh ideas and the newest new new stuff 
why don't you head on over to the blog we actually update.

Love to see you there.
Carry on as you were.

***  

Okay. 
So I'm not really going to hang eyeballs
on the wall.

Not anytime soon at least.

BUT.
I do have top down honeycombs
on most of my windows.

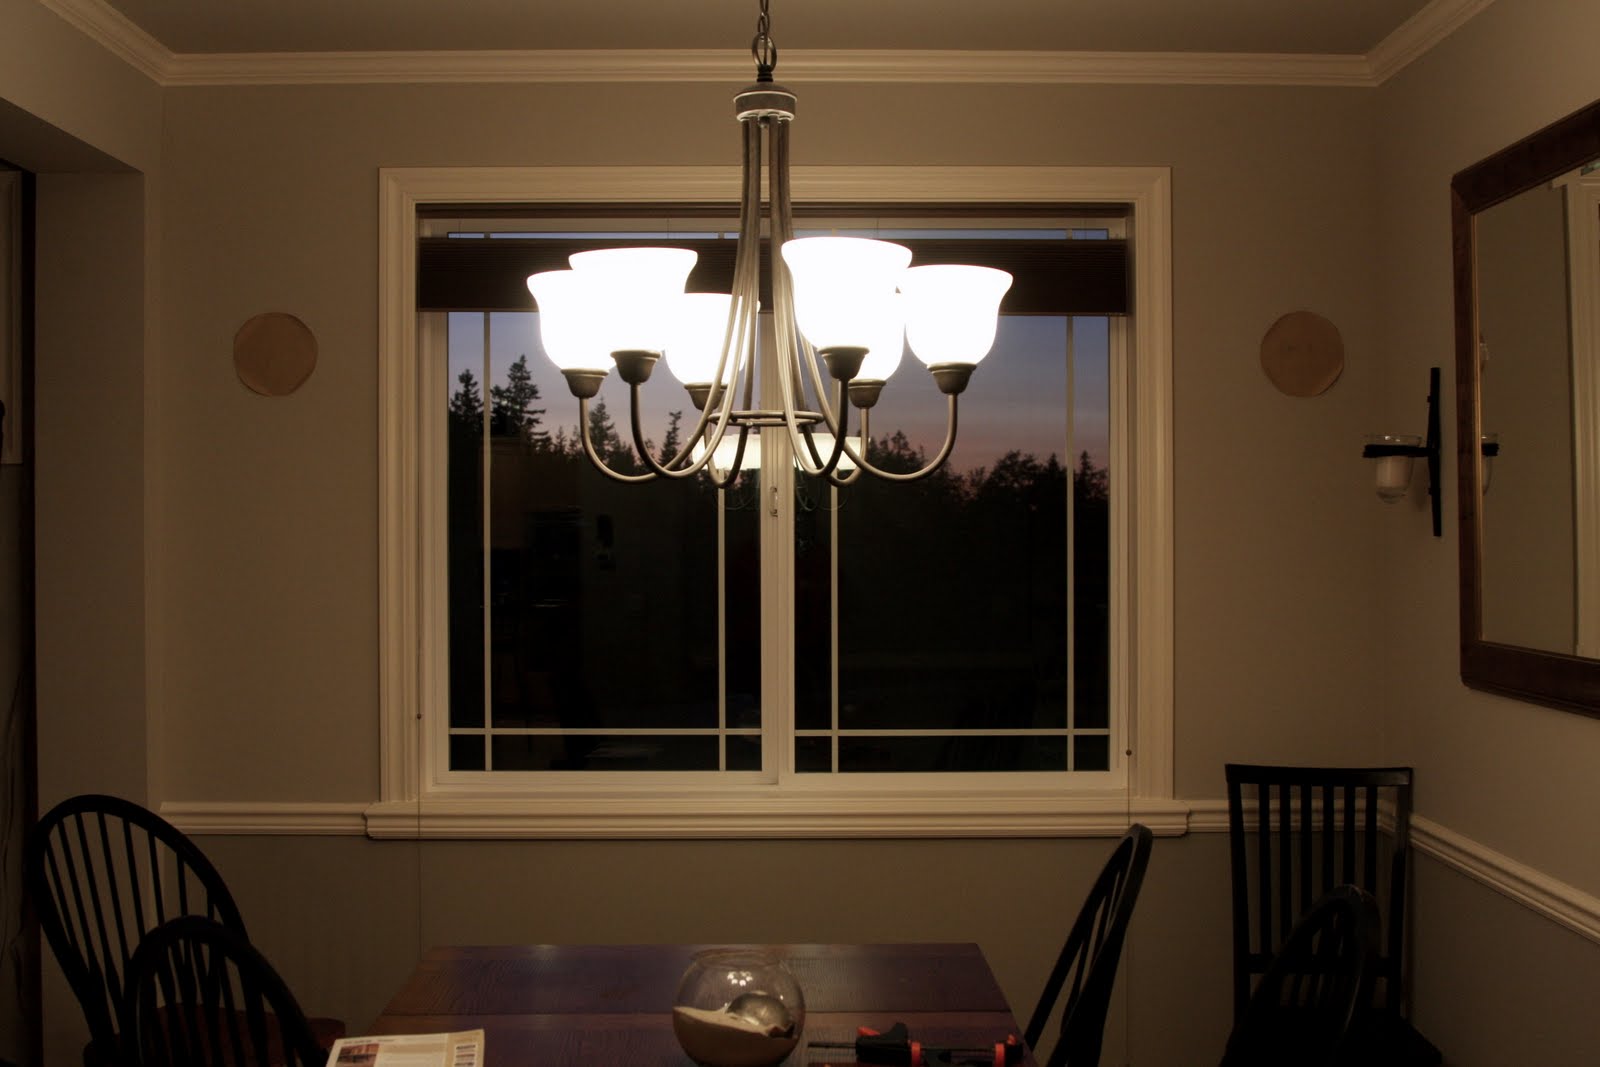
Here is what my dining room looks like
Note the fall table setting (smile).

Pinehurst Dining Room
Photo (c) b3 home designs

By now, we all know 
that I'm a pretty lazy DIYer

Okay.

Not "lazy"
Just crunched for time
and always looking for a shortcut

So here's my latest shortcut 
for hanging similar items evenly
on either side of a window.

Start with your blinds pulled all the way up
(note: they don't have to be top downs,
i used the bottom edge to do my eyeballing)

I pulled my blinds down about 6 inches
and used the bottom edge of the blinds
to be the top edge of the paper cut out
of my piece that i was hanging

Tacked the paper to the wall
on each side of the window
like this:

blind eyeballing wall hanging prep
step 1 and 2
Photo (c) b3 home designs

I pulled the blinds down some more
remember, I just eyeballed this
so no idea how many inches.

I was hanging three on each side,
so I just pulled the blinds down
about halfway down the window

More eyeballing
Step 3 and 4 
Photo (c) b3 home designs

After the halfway pull
I pulled them down again
about 6 - 8 inches
again, eyeball it

Steps 5 and 6
Photo (c) b3 home designs 

Voila.

If instead of just using flat tacks
you actually use smallhead nails you will use
to hang your art,
you can actually pull your paper placeholders
right off the wall
and the nails will pull right through the paper

And if you just throw your art down on a bit
of butcher block paper
and trace the outter edge
you'll have paper placeholders for your art
that you can tape up
before you knock a billion holes into your wall

Just saying.

Happy crafting
and don't forget
to check out this post on
how to make what I hung up


Mod Podged Bird Plates
Photo (c) b3 home designs

Yeah for mod podge!

Show some link love at: 


Wednesday, August 25, 2010

Pottery Barn Wine Wraps

***
 This is a stale post.  Don't you smell the stank?
For fresh ideas and the newest new new stuff 
why don't you head on over to the blog we actually update.

Love to see you there.
Carry on as you were.

***  

So I'm flipping through the PB catalog
because, as we've now established
this is what I do.
for fun.

I come across a wine cubby, with wrapped wine.


Now get real.
The piece is GORGEOUS
And no, I'm not going to hack that for you
because really, if you want PB furniture
you should buy PB furniture.
At an outlet if you can
of course.
But you know the drill by now.
Look close.
Closer.
Yes, at the tasty adult beverages shelved in this piece.
Specifically, you see how many of them are wrapped up?

I imagine, they are wrapped something like this

Wrapped Wine Bottles with a purpose
Photo (c) b3 home designs

Let me tell you why this is one of the few "non-sale" items
at Pottery Barn
That I adore

See.  most of the time
PB's designers do the most impractical things
But this here, is genuis

Before we moved, we owned a lot of wine. 
Probably too much.
Not a cellar full or anything
but enough that even after we "whittled" our stash
(aka, drunk it up)
we still had to store wine during our move

You know
the move this time last year
when it was a bajillion degrees in Seattle?
And we didn't have a temp controlled storage facility
And so while we got to go and jump in a lake
(literally, we jumped in Lake Washington)
our wine, not so much.

So what we had
for the longest
was a really ghetto fabulous way 
of noting
"this wine is probably not suitable for human consumption"

And we only started labeling that "stored wine" that way
after we drank about 10 bottles and just couldn't stomach anymore of it.

so it looked like this
wine tucked away in a cupboard so people can't see
the ghetto fabulous duct tape
and the puppy can't get to it
supposedly
photo (c) b3 home designs

So I broke out my supplies
Which I had on hand from the JLS Auction last year
Yeah.
That auction, where I rocked the wall of wine
and even finagled a Provisional of the Year award for my wine wrapping prowess
and I only mention this, so that you know I'm an expert
at wrapping wine
and that is probably why I think this project
is a practical way to prettily display wine that I hope none of my guests
ever drink

Consider yourself warned.
Supplies

Tissue paper, tape, hemp cord.  I really didn't use the scissors
Photo (c) b3 home designs

And then the method to the madness
is pretty simple, therapeutic and, well, fun.
Lay the bottle on the paper


 Fold down the first flap over the top half of the bottle


 Fold up the bottom half of the paper.  
Tape halves together.


Roll bottle across tissue tucking the bottom edge in
and the top edge as well.


Wring the neck of the papered bottle
Scrunch it all together right there.


Tie hemp cord around the scrunched neck. 
Double tie it in a knot


Voila!
No, I didn't label my bottles
I like surprises that way.

Wrapped wine and cheese
Photo (c) b3 home designs

I love how these turned out.

Stored wine intermixed with house warming wine
Photo (c) b3 home designs

Almost as much as I love that ladder.
Almost.

This is one of the most practical PB ideas I've come across in a while.
It is easy to point out which bottles should be a last resort
and only consumed when the earth stands still
but still provides an elegant way to fill up my small wine rack
and get my bottles out of the cupboard.

 Photos added back to wine cupboard
Photo (c) b3 home designs

only problem with that scheme?
I do still have a puppy.
So the wine bottles DO still reside 95% of the time in the cabinet
And the ladder resides in the garage
She does love to gnaw on wood after all.

Practical Pottery Barn.  Link me up to your fave practical PB find/project.

Linking this over to the fun at CSI


Tuesday, August 24, 2010

Pottery Barn Chalkboard Rock Vase Filler Hack

***
 This is a stale post.  Don't you smell the stank?
For fresh ideas and the newest new new stuff 
why don't you head on over to the blog we actually update.

Love to see you there.
Carry on as you were.

***  

So one of the newbies at PB online
Is a vase full of awesomeness. aka chalkboard rocks.
I would never pay $16 for 4 black rocks.
No matter how smooth they are.
Granted, they are black rocks that you can write on with special little white sticks.

And yes, PB designers, if you "season" your chalkboards,
they won't have ghost letters for years to come.
Although, maybe, that is the look you are going for?
Halloween theme and all.

But I do still have this big old basket of rocks

Pinehurst Summer Harvest Week 2
Photo (c) b3 home designs

And I am certain that there are some smooth ones in that grouping.
So help me God.

And a while ago, I went to the Habitat Home Improvement Outlet in So. Seattle. And on their paint shelf...next to the heirloom white and butter yellow minis, they had a quart of chalkboard paint.

When I went to check out, the checker tried to tell me
"Where did you get this?  I don't think it is for sell. I think this is our chalkboard paint"

I looked around and saw all the chalkboard decor. 
Got it.
Said nothing.
He got a clue.
Sold me the quart and understood if he didn't want something to be sold
it shouldn't be set on the shelf.
Especially on the PAINT shelf.
I could see if I had picked it up in the nail section.
I picked it up in the paint section.

And so like everyone else, it is time for another chalkboard project.
Hack commenced.

Break out the contraband chalkboard paint.

 Habitat store chalkboard paint
Photo (c) b3 home designs
Start with a super sized (paper plate sized) rock and slap on the paint
Preferably, with a sponge brush
Continue with much more reasonable sized rocks

Various painted rocks
Photo (c) b3 home designs

Give PB props for realizing that smooth rocks are so much easier
to paint and chalk up
than knubbly rocks are

Once dry, SEASON your chalkboards people!
No matter how pretty those smooth hard black rocks look

Smooth black, rough black and seasoned rocks
 Photo (c) b3 home designs

If you don't season your rocks by scribbling them up with chalk
rubbing that chalk in
and then wiping it off
you will see your first message
forever
and ever
and really
who wants that?

Finished and scribbled chalkboard rocks
Photo (c) b3 home designs

Especially when you write stuff like this on them.

PB Hacked | Chalkboard Rocks
Photo (c) b3 home designs

Throw them in a vase (gently, of course)
and call it done.

for various places you can use your rocks in your home
I used the big one on my kitchen window sill
after I scribbled 

i
[heart]
u

on it.
awww...
how sappy.

Your turn.  Show me your rocks!

This one is totally Easy. 
DIY addicts already have chalkboard paint on hand.
Or know where you can get some at a similar ReStore|Habitat type shop for super cheap. 
Or use your Mike's or Jo's coupon and get some there for super cheap.

Dig up some smooth rocks.
Or buy them at said crafty store.
Break out the sponge brush and slap on the paint.
Or just drop them in the can and fish them out later.
Whatever floats your boat.